
0
Owner's of the Agilent Technologies Video Gaming Accessories Agilent Technologies Video Gaming Accessories gave it a score of 0 out of 5. Here's how the scores stacked up:

Chapter 3 Calibration Procedures
General Calibration/Adjustment Procedure
66
12
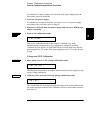
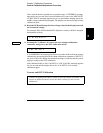
Pressing the "Calibrate" key saves the new calibration constants for
OVP circuit and goes to the current calibration mode.
A "CALIBRATING" message appears for about several seconds to indicate that
the OVP calibration is progressing and new calibration constants of "SETUP
2" are stored. Then, the display shows the above message to indicate that the
power supply is ready for the current calibration.
If the calibration fails, a "OVP CAL FAIL" message appears for one second and
the display shows the "CAL SETUP 2" for OVP calibration again.
13
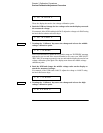
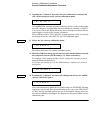
Select the low current calibration point.
The display shows the low current calibration point.
14
Read the DVM and change the low current value on the display to match
the computed current (DVM reading
¸ by shunt resistance).
For example, if the computed value is 0.199 A, adjust the current to 0.199 A
using the knob and arrow keys.
Notice that you should wait for the DVM reading to stabilize for accurate
calibration.
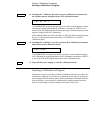
15
Pressing the "Calibrate" key saves the change and selects the middle
current calibration point.
If the entered number is within an acceptable range, an "ENTERED" message
appears for one second. If the entered number is not correct, an "MIN VALUE"
or "MAX VALUE" message appears for one second and the display shows the
low current calibration point again. The display now shows the middle current
calibration point.
cal setup 3
i lo 0.200 a
i lo +0.199 a
i mi 3.500 a
Calibrate
Calibrate


Find Your Products By Category
- Household Appliance
- Power Tools
- Computer Equipment
- Automotive
- TV and Video
- Outdoor Cooking
- Marine Equipment
- Kitchen Appliance
- Fitness & Sports
- Lawn and Garden
- Baby
- Laundry Appliance
- Personal Care
- Home Audio
- Photography
- Video Game
- Portable Media
- Musical Instruments & Equipment
- Communications
- Car Audio and Video
Please Login
