
0
Owner's of the Brady Label Maker Brady Label Printer gave it a score of 0 out of 5. Here's how the scores stacked up:
Working with Cut-outs 10-5
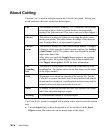
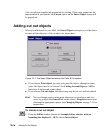
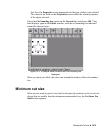
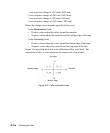
2. On the Insert Object screen (Figure 10-1), choose Cut out object.
3. Select the type of object you want to cut out. The type you choose determines
the screen you will see next:
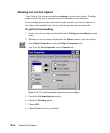
Cutting out text objects
The cutter cuts out each individual character in a Text cut out object.
Hint! See Weeding cut out text objects - 10-6 to learn how to make an
additional cut around the cut out text, for ease of use when removing the
cut out characters.
To cut out text objects
1. After selecting the Cut out object option on the Insert Objects screen, choose
Text.
2. On the Enter Text screen (shown in Figure 7-3 on page 7-5), enter the
characters you want to cut out.
3. Press OK when you’re finished. You’ll see the cut out new text object on the
Editor window.
4. Choose Print to cut out the object.
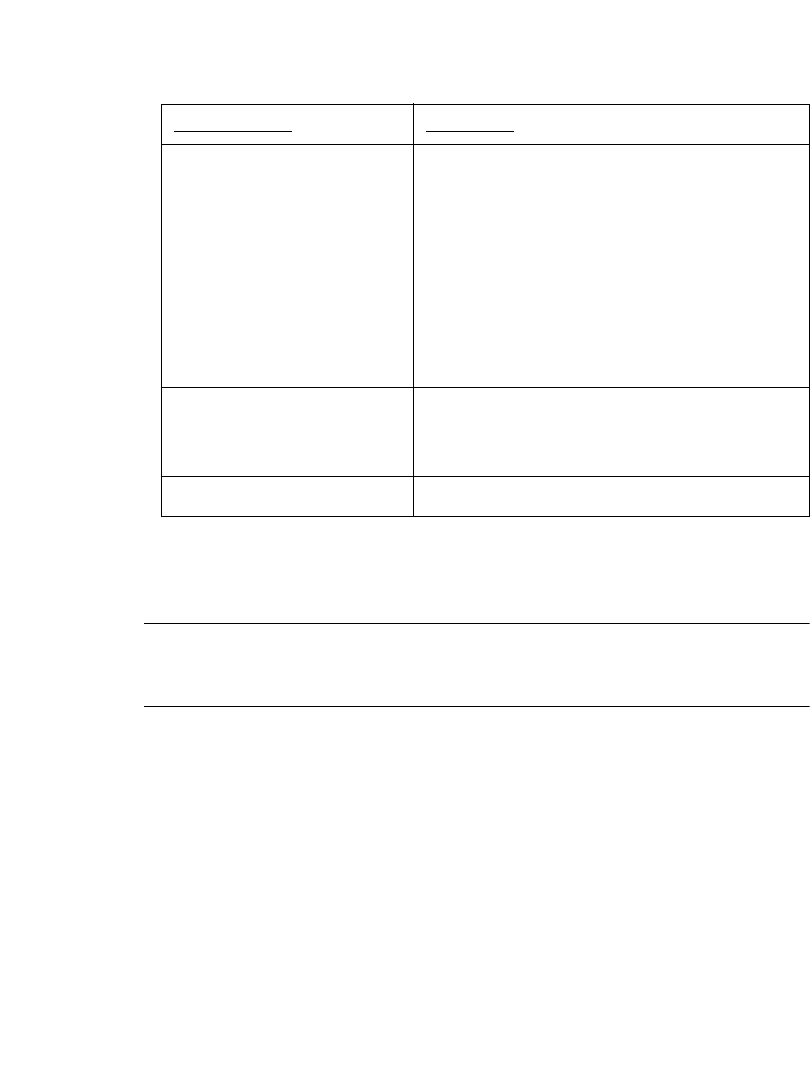
If you choose: You’ll see:
Text object The Enter Text screen (Figure 7-3 on page 7-
5). You can choose from these fonts for cut out
text objects:
• Arial 65 for BRC
• Arial for BRC
• Times New Roman for BRC.
Only normal text is supported. Cut out text
may not be bolded, italicized, or underlined.
Graphic object The Graphics screen, shown in Figure 7-15
on page 7-23, with special options for cut out
graphics listed.
HotShape object The HotShapes screen, shown in Figure 7-16,


Find Your Products By Category
- Household Appliance
- Power Tools
- Computer Equipment
- Automotive
- TV and Video
- Outdoor Cooking
- Marine Equipment
- Kitchen Appliance
- Fitness & Sports
- Lawn and Garden
- Baby
- Laundry Appliance
- Personal Care
- Home Audio
- Photography
- Video Game
- Portable Media
- Musical Instruments & Equipment
- Communications
- Car Audio and Video
Please Login
