

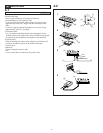
0
Owner's of the Aiphone Intercom System IAX-100 gave it a score of 0 out of 5. Here's how the scores stacked up:

- 17 -
7
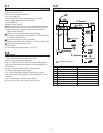
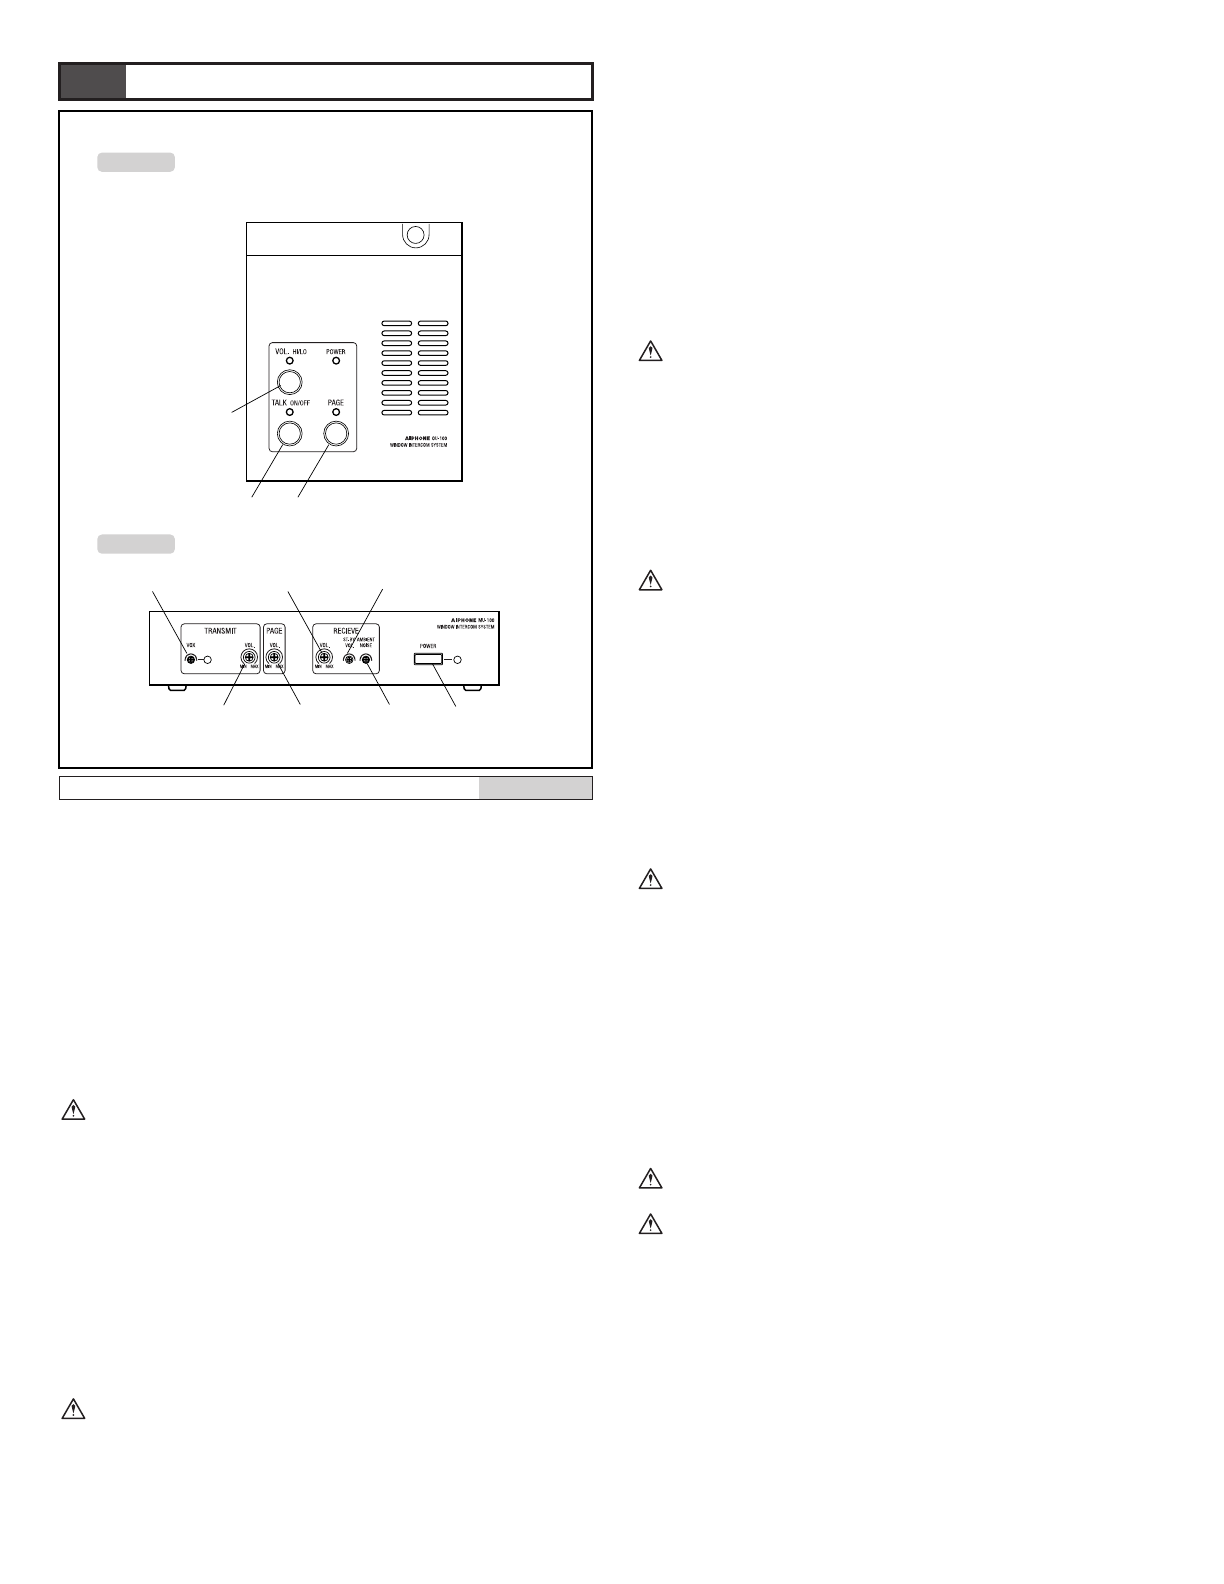
SETTING UP
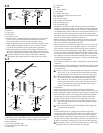
[5] Adjust the sensitivity of the VOX circuit.
•With the equipment arranged as it would be during use, have
someone talk from the operator position. Adjust the VOX
sensitivity knob by turning it clockwise so that it responds to the
voice and the green LED illuminates. Adjust so that it
illuminates when voice transmission starts and goes out when
transmission ends.
•When stable and the LED is flashing,the minimum knob position
is the most suitable. Adjustment is easier if the transmitted sound
is checked on the customer side at the same time. It should be
noted that sound from the customer side is blocked while the
LED is illuminated.
Start by turning the VOX sensitivity knob and transmit volume
knob a little clockwise so that the transmitted sound can be
heard on the customer side.
[6] Adjust the transmit volume.
•Have someone talk from the operator position, and turn the
transmit volume knob clockwise to adjust to a suitable volume
for the customer side.
•Do not set the volume too high as it could cause problems such
as feedback.
•Adjust the sensitivity of the VOX circuit again if necessary.
Test while the VOL switch of the operation unit is in the HI
position.
[7] Adjust the noise canceling control knob.
•This function reduces the noise received from around and behind
customer. Adjust as necessary. Have someone make a noise that
you wish to reduce, and turn the noise canceling control knob
clockwise or counterclockwise. Set at a level where the
background noise is reduced.
•Next, have someone speak from the customer position and check
that the volume of the received voice is not affected. Give
priority to setting the optimum volume for the voice of the
customer. This function is designed to reduce the volume of the
background noise, not to eliminate it completely.
If there are no problems with the control position set at the
time of shipment (minimum position,turned fully
counterclockwise), then adjustment is unnecessary.
Adjustment is easier if the headset is used (use speaker side
only). Even if the gooseneck microphone and built-in speaker
are used with the operation unit, it is recommended that the
headset be temporarily connected to perform the adjustment.
[8] Adjust the paging volume.
•Have someone talk from the operator position while pushing the
PAGE button. Turn the PAGE volume knob clockwise to adjust
until a suitable volume is heard from the paging speaker.
•Adjust while giving priority to one of the transmit, receive or
standby modes of the paging broadcast.
1. Adjustment is only necessary in a system where a paging
speaker has been installed.
2. Test while the VOL switch of the operation unit is in the HI
position.
English
Setting up
First, check that all the installation and wiring work has been
completed, that all switches are off, and that all control knobs
have been turned to the counterclockwise position.
[1] Turn on the power supply adapter and turn on the POWER
switch of the main unit.
[2] Turn on the TALK switch of the operation unit so that
communication is possible.
[3] Adjust the receive volume.
•Have someone stand and talk in the position on the customer side
where the customer would stand, and turn the receive volume
knob clockwise to adjust to a suitable volume.
•Do not set the volume too high as it could cause problems such
as feedback or detection by the transmit VOX circuit.
Perform while the VOL switch of the operation unit is in the
HI position.
[4] Adjust the receive volume in the standby mode. Adjust the
volume if necessary.
•Have someone stand and talk in the position on the customer side
where the customer would stand, and turn the standby volume
knob clockwise to adjust to a volume suitable for the standby
mode. The volume at the maximum clockwise position is one
half of the volume when it is on. There is no sound at the initial
counterclockwise position.
•When a suitable volume has been reached, turn the TALK switch
on and off to check the difference in volume during
communication and during standby.
Test while the VOL switch of the operation unit is in the HI
position.
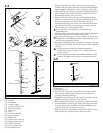
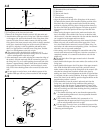
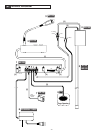
[3]
[2] [8]
[5]
[3]
[4]
[1][7][8][6]
MU-100
OU-100


Find Your Products By Category
- Household Appliance
- Power Tools
- Computer Equipment
- Automotive
- TV and Video
- Outdoor Cooking
- Marine Equipment
- Kitchen Appliance
- Fitness & Sports
- Lawn and Garden
- Baby
- Laundry Appliance
- Personal Care
- Home Audio
- Photography
- Video Game
- Portable Media
- Musical Instruments & Equipment
- Communications
- Car Audio and Video
Please Login
