
0
Owner's of the World Marketing of America Outdoor Fireplace KOZY-WORLD gave it a score of 0 out of 5. Here's how the scores stacked up:


11
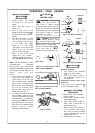
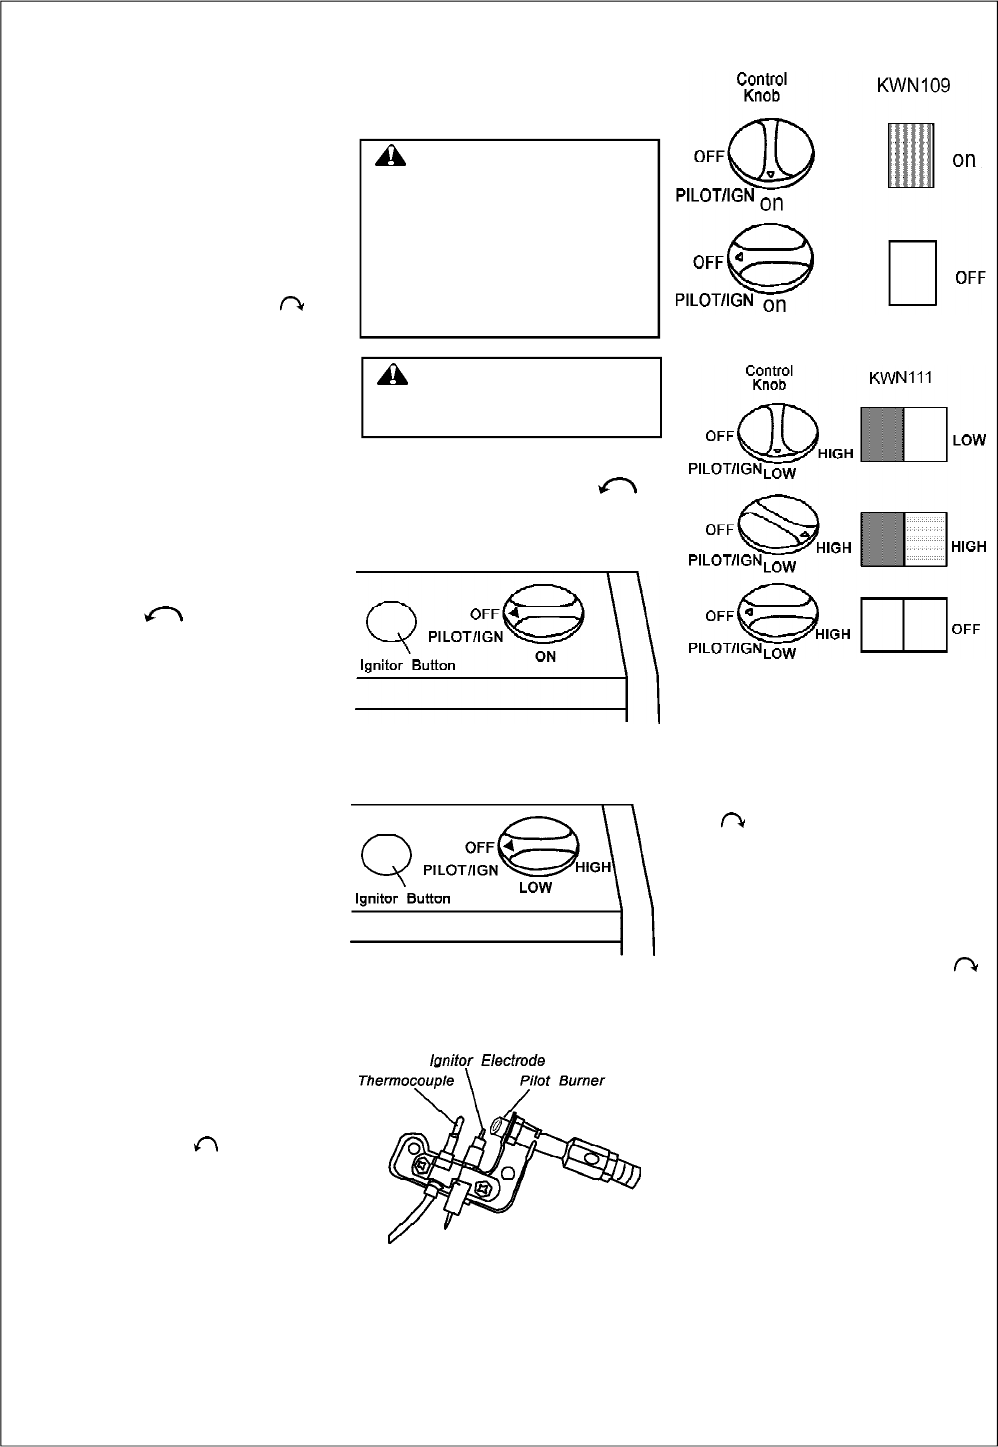
Figure 16 - Control Knob In The
OFF Position (KWN111)
Figure 17 - Pilot
Manual Control Models
nLIGHTINGn
INSTRUCTIONS
1. STOP! Read the safety
information on the side of
heater.
2. Check that gas supply to
heater is on.
3. Push in gas control knob
slightly and turn clockwise to
the OFF position (see Figures
15&16).
4. Wait five (5) minutes to clear
out any air. Then smell for
gas, including near the floor.
If you smell gas, STOP!
Follow “B” in the safety
information on the side of the
heater. If you do not smell
gas, go to the next step.
5. Push in gas control knob
slightly and turn counter-
clockwise to“PILOT/IGN”
and depress for five(5) seconds
NOTE: The first time that the heater
is operated after connecting
the gas supply , the control knob
should be depressed for about thirty
(30) seconds. This will allow air to
bleed from the gas
system.
6. With control knob pressed in,
push down and release the
ignitor button. This will light
pilot. If needed, keep pressing
ignitor button until pilot lights.
7. Keep control knob depressed
for ten (10) seconds after
lighting pilot. If pilot goes out,
repeat steps 5,6 and 7.
8. To select the desired heating
level, partially press down the
control knob slightly and rotate
counterclockwise . Release the
downward pressure on the knob
while continuing to turn until the
knob locks at the desired setting
position. Do not operate
between locked positions.
nTO TURN OFFn
GAS TO APPLIANCE
Shutting Off Heater
1. Turn control knob clockwise
to the OFF position.
2. Turn off all electric power to
the appliance if service is to
be performed.
Shutting Off Burner Only (Pilot
Stays Lit)
Turn control knob clockwise
to the PILOT/IGN position.
nMANUAL LIGHTINGn
PROCEDURE
1. Remove lower front panel (see
Figure 6 page 7)
2. Follow steps 1 through 5 under
Lighting Instructions.
3. With control knob pressed in,
strike match. Hold match to
pilot until pilot lights.
4. Keep control knob pressed in
for 30 seconds after lighting
pilot. After 30 seconds, release
control knob.Follow step 8 under
Lighting Instructions.
5. Replace lower front panel.
CAUTION: Do not try to
adjust heating levels by using
the equipment shutoff valve.
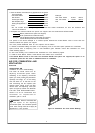
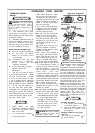
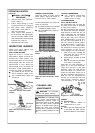
Figure 19 - Burner Patterns
WARNING: When running
heater,set control knob at
ON, LOW, or HIGH locked
positions(see Figures 18 & 19).
Never set control knob between
locked positions. Poor combustion
and higher levels of carbon
monoxide may result.
Slightly press in control knob
and turn counterclockwise
to the ON, LOW or HIGH
positions (see Figures 18 & 19).
OPERATING YOUR HEATER
nTO SELECTn
HEATING LEVEL
Figure 15 - Control Knob In The
OFF Position (KWN109)
Figure 18 - Burner Patterns


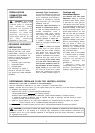
Find Your Products By Category
- Household Appliance
- Power Tools
- Computer Equipment
- Automotive
- TV and Video
- Outdoor Cooking
- Marine Equipment
- Kitchen Appliance
- Fitness & Sports
- Lawn and Garden
- Baby
- Laundry Appliance
- Personal Care
- Home Audio
- Photography
- Video Game
- Portable Media
- Musical Instruments & Equipment
- Communications
- Car Audio and Video
Please Login
