
0
Owner's of the First Alert Security Camera First Alert Security Camera gave it a score of 0 out of 5. Here's how the scores stacked up:


Page 7
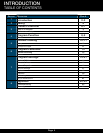
PRODUCT OVERVIEW
FEATURES & SETUP
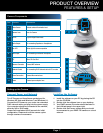
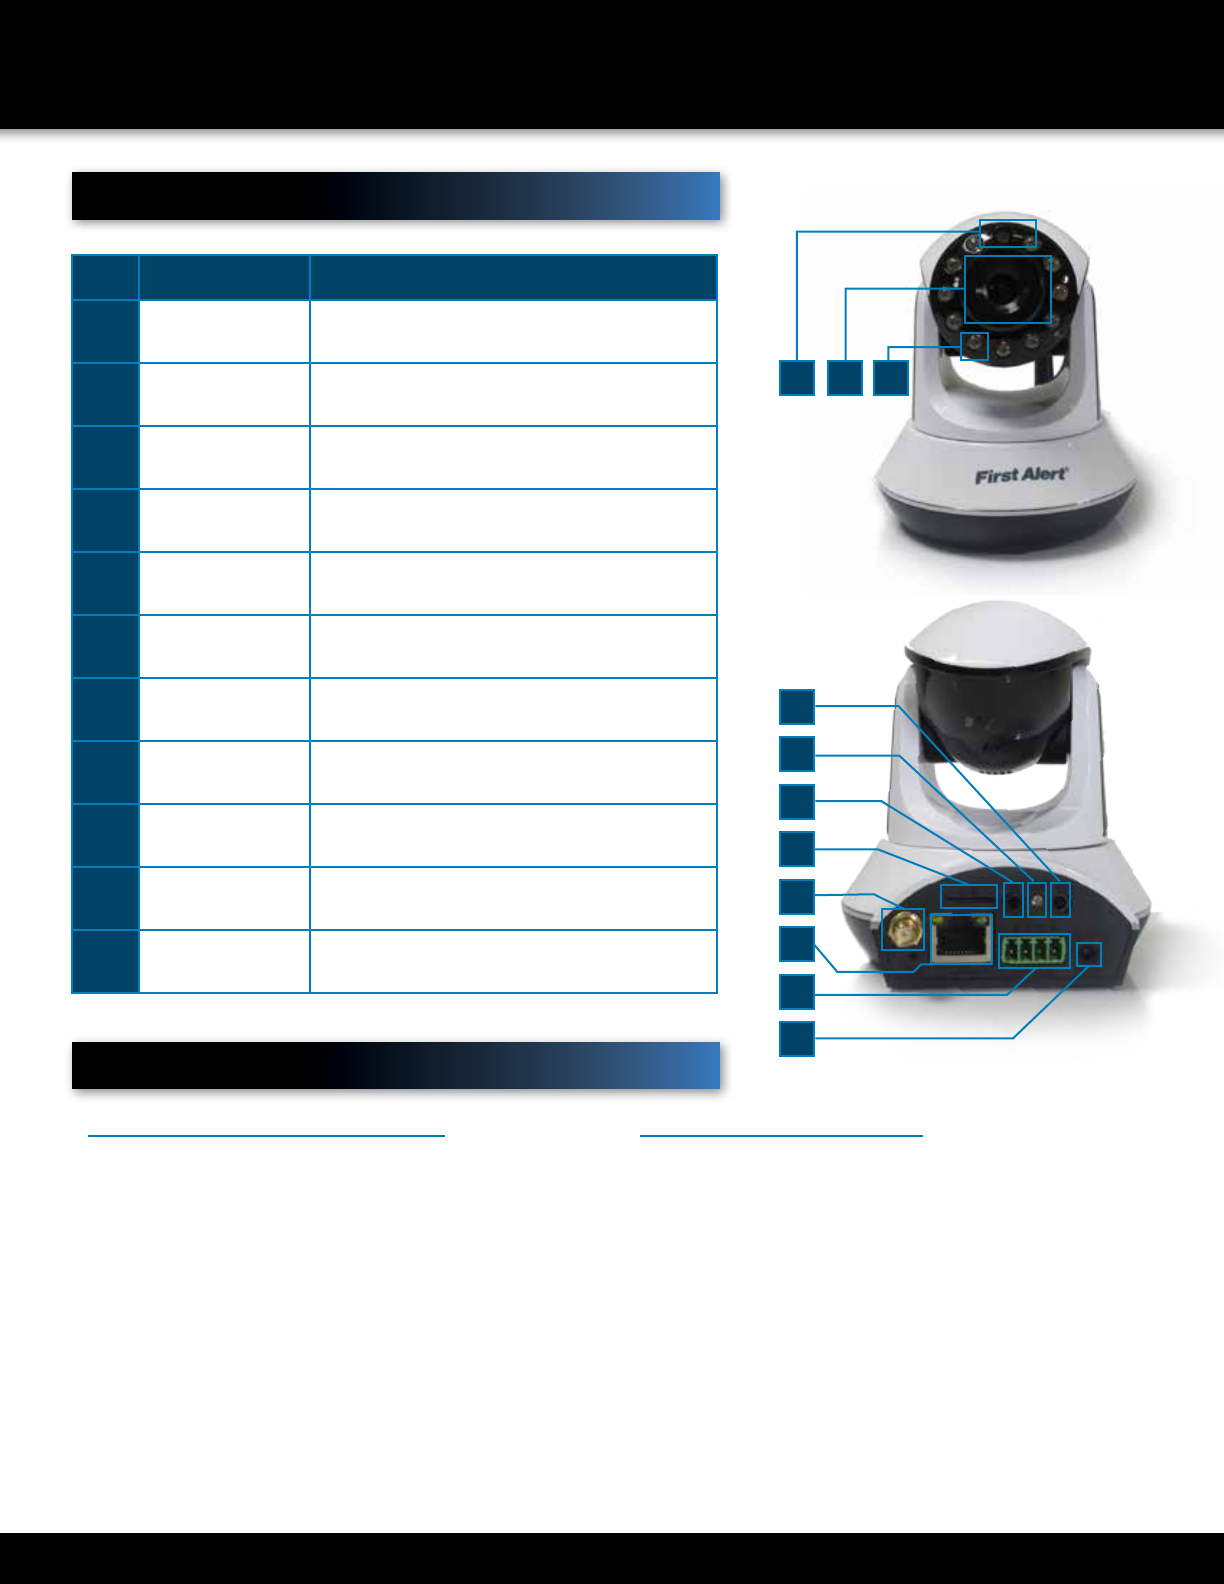
Camera Components
item Function DeScription
1
Photo Sensor Detects ambient illumination level
2
Camera Lens Lens for Camera
3
IR LED Light for Night Vision mode
4
Audio Output For connecting Speakers or Headphones
5
Run LED Status light for camera operation
6
Audio Input For connecting an external microphone
7
T/F Micro SD Card Slot
8
Antenna Connector Connect WiFi antenna
9
Network Socket For connecting RJ45 ethernet cable to PC or router
10
Alarm Connection Connect Alarm wires here
11
Power Connect power adapter here
1
4
6
8
10
11
5
7
9
2
3
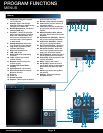
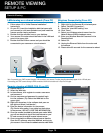
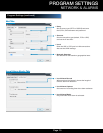
Setting up the Camera
Connect Power and Network
This IP Camera and its software are designed for
Windows XP, Vista and Windows 7 and Windows 8.1.
Connect the IP Camera to your router via a standard
RJ45 network cable, and plug into the power supply.
Your computer should be connected to the network,
either by wifi or RJ45 cable.
Camera will need about 45-60 seconds for initial
configuration. Please wait until the camera cycles
through a series of movements.
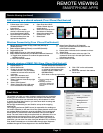
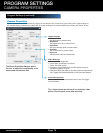
Installing the Software
1. Install the software on your PC by placing the CD
into the CD-ROM.
2. Double click the software icon on your desktop.
3. Your DWIP camera ID number should be listed in
the LAN task pane in the upper right.
4. Double click the Exxxxx camera and you should
be connected to your DWIP-720 camera on a local
network.


Find Your Products By Category
- Household Appliance
- Power Tools
- Computer Equipment
- Automotive
- TV and Video
- Outdoor Cooking
- Marine Equipment
- Kitchen Appliance
- Fitness & Sports
- Lawn and Garden
- Baby
- Laundry Appliance
- Personal Care
- Home Audio
- Photography
- Video Game
- Portable Media
- Musical Instruments & Equipment
- Communications
- Car Audio and Video
Please Login
