
0
Owner's of the First Alert Security Camera First Alert Security Camera gave it a score of 0 out of 5. Here's how the scores stacked up:


Page 10
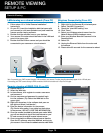
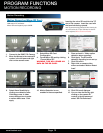
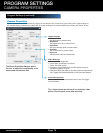
1. Follow steps 1-3 in "Initial Camera Installation"
Instructions.
2. On your PC, insert the installation disk that came with
your camera (or visit www.firstalert.com) and install the
camera remote viewing software.
3. Double click the software icon on your desktop.
4. Your camera ID number should be listed in the LAN task
pane in the upper right.
5. Double click the Exxxxx camera and you should be
connected to your camera on a local network.
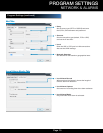
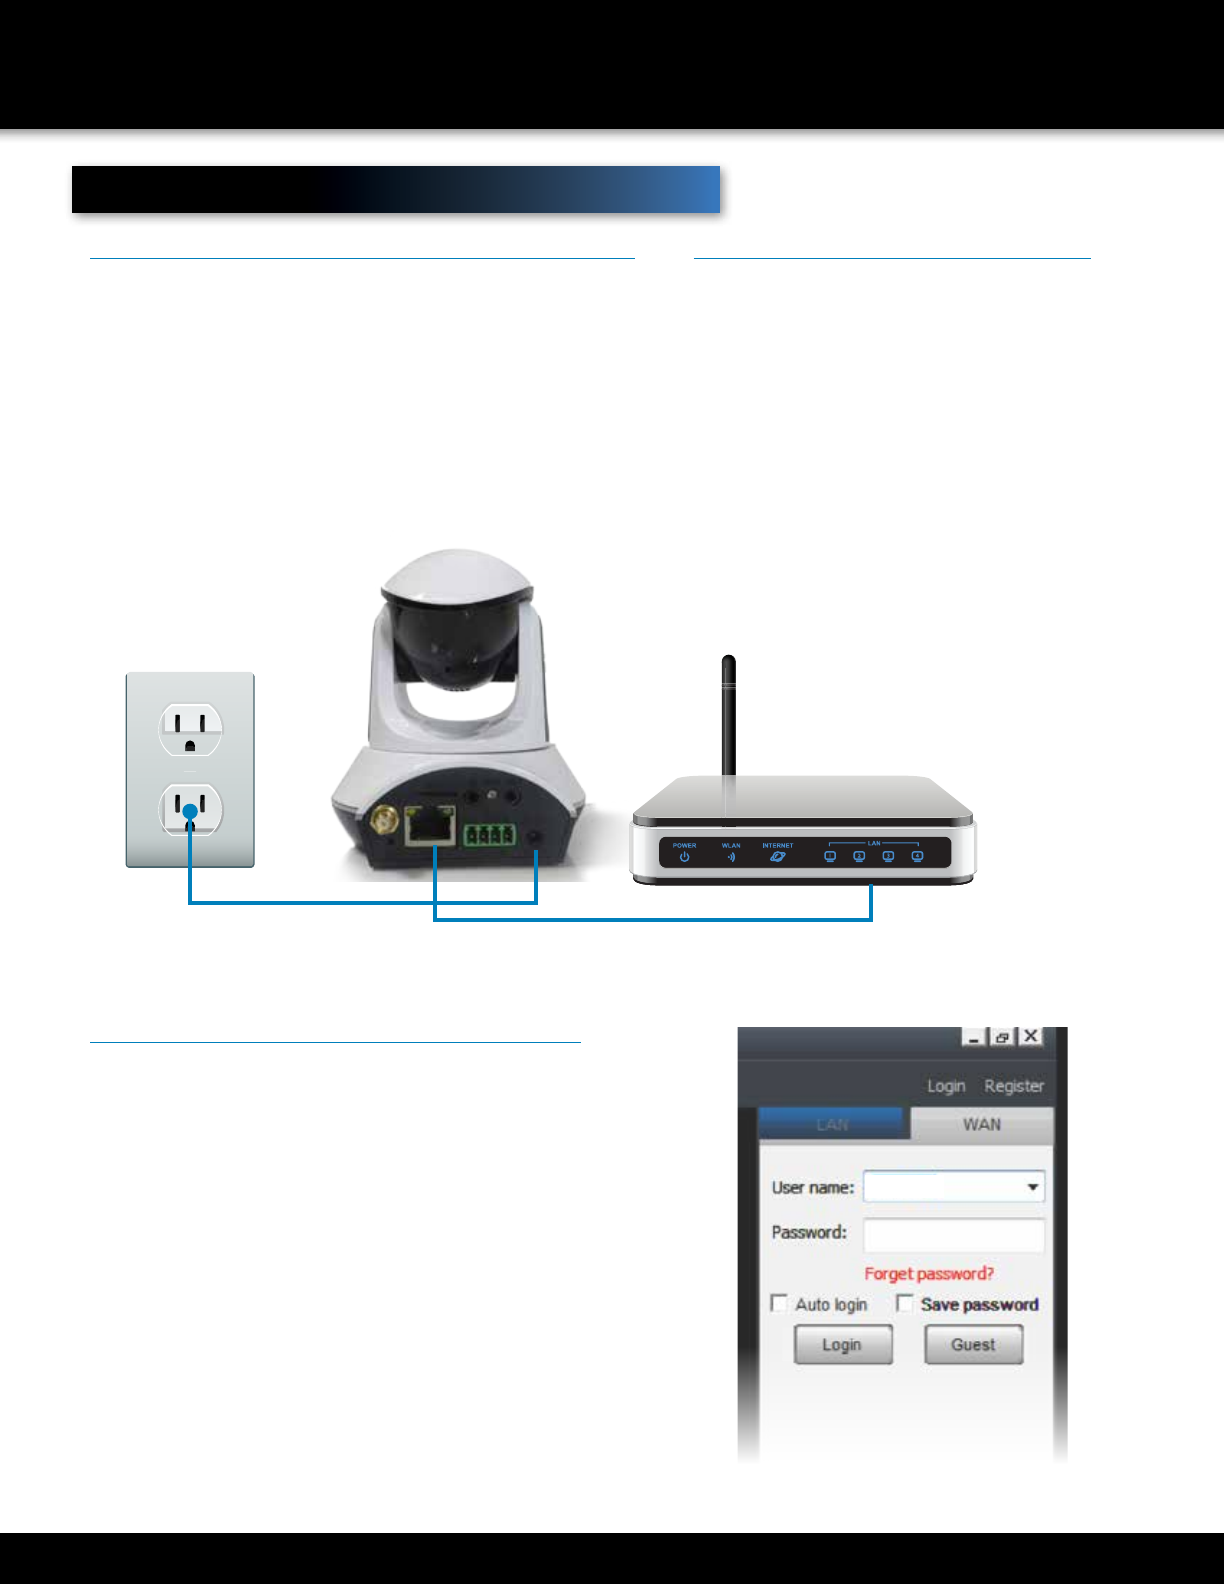
16. Repeat steps 1-4.
17. Select the WAN tab.
18. In the software, click register to create a username
and password.
19. Once a username and password is created, login
into the software. (Tip: Select the WAN tab on the
upper right).
20. Right click anywhere in the software task pane on
the right and select "add device".
21. Enter the device information for the camera.
(Tip: Device information is on a label on the bottom
of the camera.) DO NOT LOSE THIS INFORMATION.
22. Once the camera is added to the task pane under WAN,
you will now be able to log off the local internet on your
PC and connect to another remote internet souce.
23. Once connected to a different internet source than the
Open the PC software, select the WAN tab, and log into
your account. You will see the added camera under WAN.
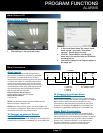
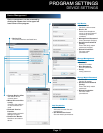
6. Repeat steps 1-4.
7. Right click on the Camera ID in the task pane.
8. Select "Set WIFI Connection".
9. Check the "start WIFI setting" box.
10. Click "Scan".
11. Select your Wireless network name from the
Network Name (SSID) dropdown menu.
12. Enter your Wireless Network Password in the
Password field.
13. Select OK.
14. Unplug the Ethernet Cable from the router and
the camera.
15. Please allow 60 seconds for the camera to reboot.
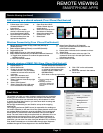
LAN viewing on a shared network (From PC)
(PC must be connected to the same local network as the Camera)
Wireless Connectivity (From PC)
Remote viewing of DWIP-720 (From PC)
Note: If connecting your DWIP camera through a LAN connection, your camera ID number should automatically appear in the LAN task pane.
If connecting your DWIP camera through a WAN connection, follow the instruction set in Step B of this page.
Remote Viewing
REMOTE VIEWING
SETUP & PC
www.firstalert.com


Find Your Products By Category
- Household Appliance
- Power Tools
- Computer Equipment
- Automotive
- TV and Video
- Outdoor Cooking
- Marine Equipment
- Kitchen Appliance
- Fitness & Sports
- Lawn and Garden
- Baby
- Laundry Appliance
- Personal Care
- Home Audio
- Photography
- Video Game
- Portable Media
- Musical Instruments & Equipment
- Communications
- Car Audio and Video
Please Login
